

Better late than never, part 2 is all about boards and placement.
Back in part 1 we looked at the cards, this time it’s all about deployment. Shadespire is a movement focused game and no amount of cards can save bad board usage and warband placement. Today we’ll look at how to effectively deploy Offensive Steelheart’s Champions in order to maximise their low numbers and average movement values.
General Guidelines
An important factor to remember is your warband has 3 models, the smallest currently for Shadespire. This means you should generally be getting +1 crit for priority in the 1st phase of the game. As a general rule you always want your opponent to set up first if you win the deployment unless they also have a 3 model warband, in which case you want to deploy first in order to get that extra crit to ensure you get to choose who goes first or second.
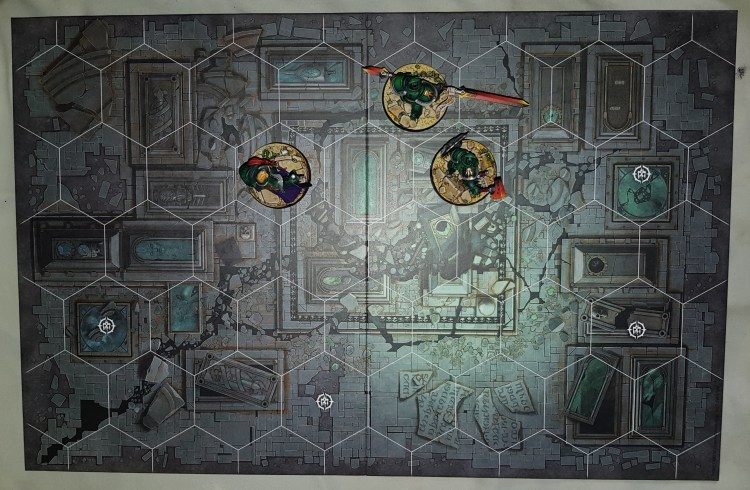
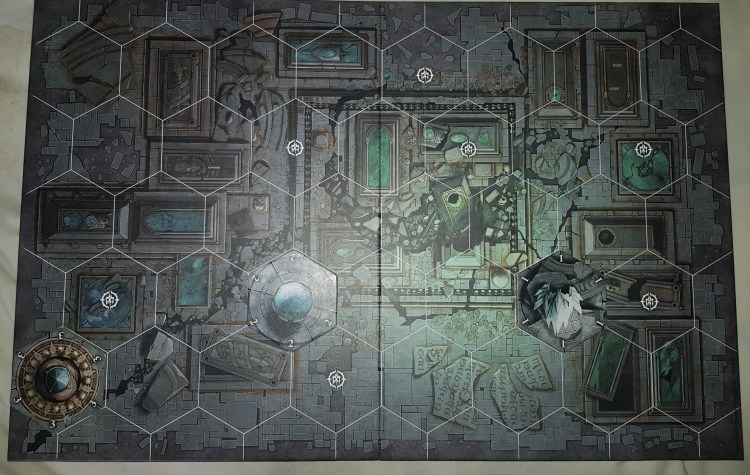
The Standard Setup

Here is my usual board of choice when I win board placement. The 3 starting hexes in the upper middle allow far and tight positioning which strengthens the warband’s small size and offensive goals. Wherever your opponent decides to attack, they will be in range of at least one of your fighters for a brutal counterattack.
Brightshield always goes on point as she is the best defensive bait and benefits a lot from inspiring. Severin and Obryn can alternate their positions depending on the warband. Is your opponent all shields? Then deploy Obryn next to Brightshield to protect him from anyone interested in charging in to kill him. Is your opponent all about dodges and swarming? Place Sevrin next to Brightshield. When inspired, his multi-swing attack is brutal against such foes.
This placement also changes depending what cards you have in-hand too.

With these two cards, you can be more aggressive with your placement. Depending on the foes (as mentioned earlier) you can put Obryn or Sevrin on point.

The combination of Parry (Ephemeral Shield is a good replacement) and/or Healing Potion means you can bring the enemy to you as well as get an early inspired fighter from the beginning. Of course it’s better to take the option to go first when using such combos so you don’t start off going 2nd with a dead key fighter.
Placing Second
You’ve lost the board placement, what do you do? The board you would normally use when going first is a terrible choice as your opponent can turn it around, forcing your fighters into a very spread out triangle formation that makes picking off your fighters very easy. It’s best to switch it up and find something else to use.

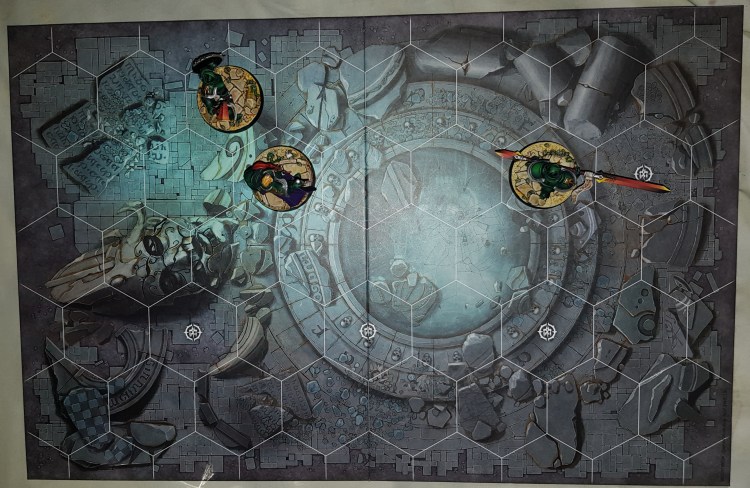
This board is probably the best to place first. It’s very fair and not easily punished. If the top board placement is chosen, you can place all your fighters forward equally and within supporting range of each other. The next 2 options are also good as you can place 1 fighter very far ahead and still support the other warband members. Fighter placement is optional but generally you want Brightshield on point, next to whatever fighter is best suited for the match-up (as again mentioned earlier).


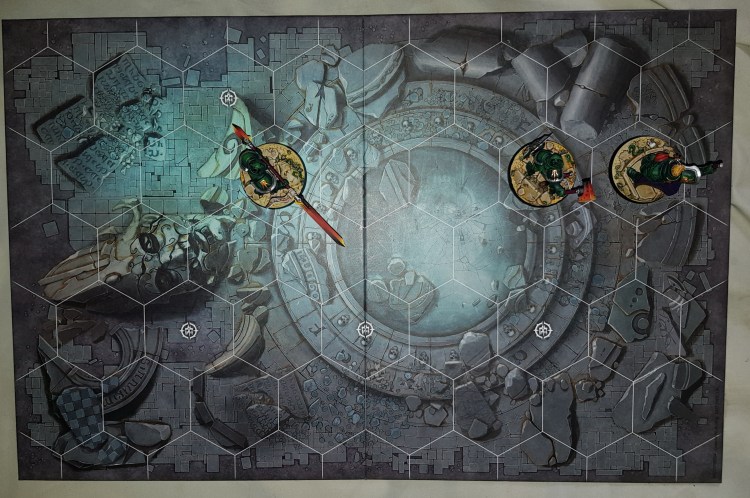
The next board is also a very good choice and recommended for use against opponents that you want to get stuck into very quickly (Skaven and Skellies etc). No matter which side your opponent chooses, you’ll always have 2 spots on the edge as far forwards as possible, with the 3rd fighter just 1 hex row behind. Very good with scoring Swift Advance too early in the game.
A warning is needed however. The top placement causes a trapped situation for the fighter in Brightshield’s position which a canny player will punish. The best way around it is to go first and charge/move said fighter immediately instead of spending the first activation going on guard/drawing a card as normal.
The Dreaded Length-ways
This can be a death sentence for a movement 3 warband like Steelheart’s but fret not, you can also use it to your advantage. Such a board layout hinders high movement warbands a lot because they can’t easily run past you. It also means your opponent can’t escape from you.


Using the generally favoured 1st placement board (when losing the deployment roll) you can effectively mitigate any length-ways placements. The top option actually makes it even easier for your warband to close-in on the enemy (perfect for when you want to play like this) whereas the bottom is a more likely scenario enforced by your opponent but less punishing compared to other boards. You’ll effectively be 1 hex row further back than normal.
The Risky
While I think this board is great as a reaction board to use (punishing an opponent’s first board) and a terrible first board to place (too punishable), I feel Steelheart’s don’t benefit from the starting hex locations at all.

Here it seems fine. My problem, however, is that you’re too spread out. Coupled with the blocked hexes, you can be easily punished and blocked too. It does offer you a more offensive approach but it comes at a rather big risk.
Bonus Round: Objective Placement
Placing your objectives is just as important as your fighters. While you will not need them, your opponent won’t really know that. Also, they can be used to bait an opponent in.
The standard placement I see mostly everyone do. While generally it is not a bad idea because you punish people going for Hold Objectives and aggro players going for Supremacy, this can actually be a big hindrance to yourself. With a low body count and average movement, faster warbands with sneaky card combos (especially with cards like Hidden Paths) can scoot behind you, now forcing you to either split your forces or continue onwards deeper into enemy territory at the risk of leaving the opposing fighter to have free-reign in your zone.


These placements are ones I find much more suited to the warband. While yes they are very close to the enemy, it means you can easily punish anyone trying to get onto them as they have to face your tough fighters directly. This also means you don’t have to split off to get any enemy trying to grab a backfield objective.
Conclusion
Well there you have it for the 2nd part of my Warband Deconstruction series. Tune in next time for when I’ll be going over more specific opposing warband tactics and combos. Just remember that in Shadespire positioning is everything. As well as rolling crits.

One thought on “Warband Deconstruction: Offensive Steelheart’s Champions (Deployment)”