Double-whammy time.
It had been awhile but now it was time for a weekend of back-to-back tournament fun!
Saturday
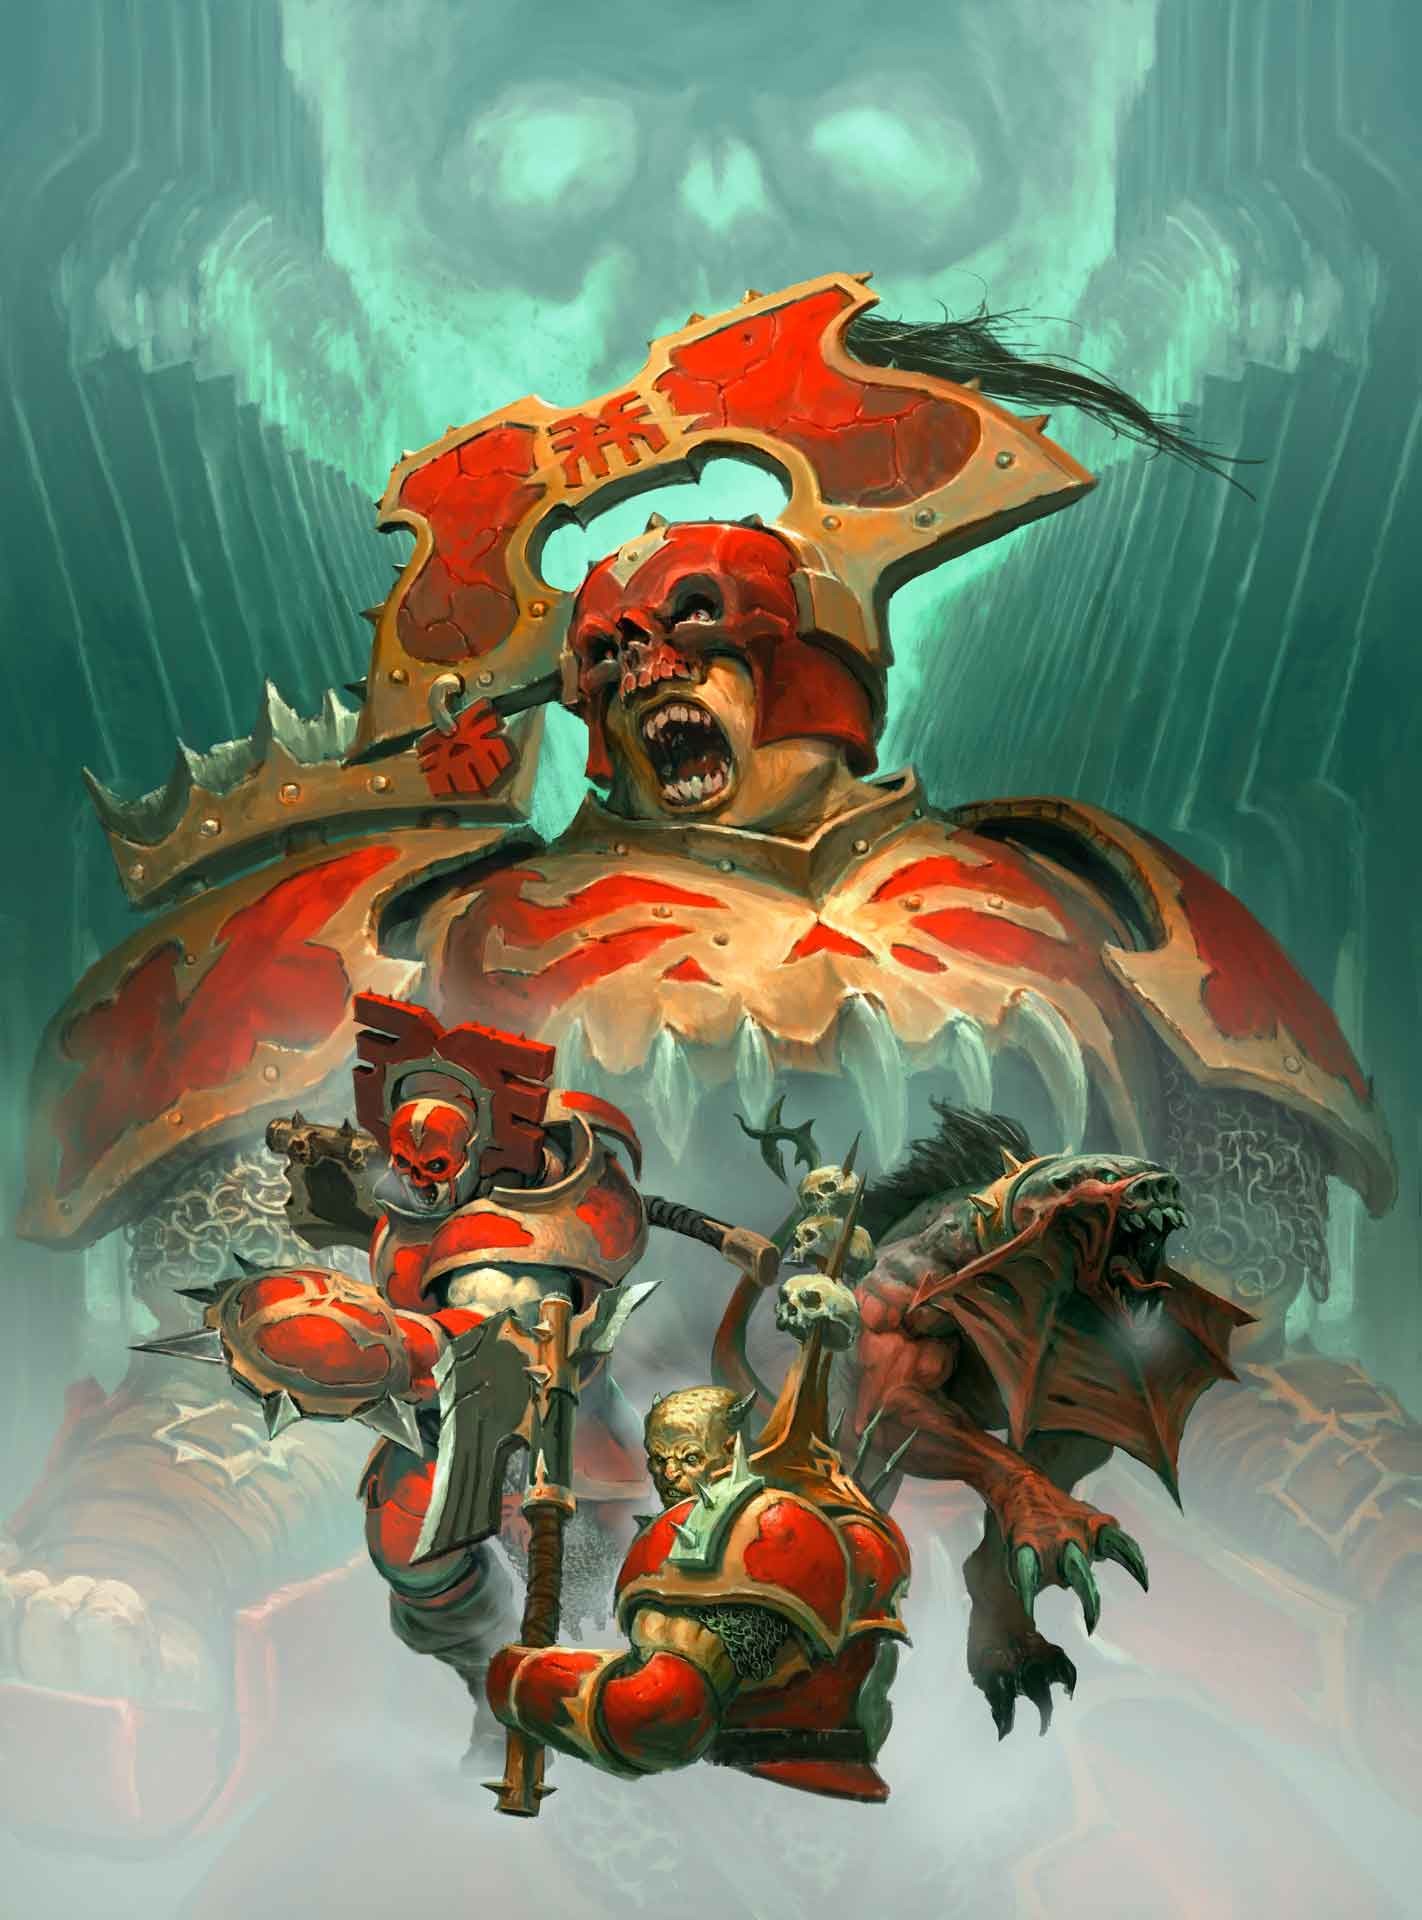
Geek and Buy was my destination with a Shadespire tournament ran by Marquee Models. On my journey of new warbands I was using Magore’s Fiends this time. I had built a deck that tried to mitigate the aggro-focus of the warband while still being very mobile.
Objectives (12)
176 – Bane of Champions
180 – No Escape
183 – Show of Strength
235 – Alone in the Darkness
243 – Change of Tactics
257 – Escalation
272 – Master of War
282 – Ploymaster
284 – Precise Use of Force
291 – Superior Tactician
L24 – Shining Example
L29 – Well-guarded
Ploys (10)
188 – Daemonic Resilience
190 – Furious Inspiration
329 – Great Concussion
331 – Hidden Paths
334 – Inspiration Strikes
347 – Quick Thinker
348 – Ready for Action
361 – Spectral Wings
368 – Time Trap
372 – Twist the Knife
Upgrades (10)
201 – Trophy Hunter
373 – A Destiny to Meet
376 – Awakened Weapon
378 – Concealed Weapon
384 – Deathly Fortitude
391 – Great Strength
393 – Helpful Whispers
395 – Incredible Strength
410 – Shadeglass Dagger
420 – Soultrap
Round 1

Chosen Axes run by Amit were my first opponent. Losing board placement, I placed The Cog board down first to deter long board play and place all 3 of my objectives on lethal hexes. My opponent place his objectives near my lines which made me think he was an aggressive player. Either way, I deployed Zharkos and Gartok as the only fighters with range to be charge with each being covered by Magore and Riptooth.
Phase 1 began with Gharok charging into Maelgrim, doing 2 damage and knocking him back. Inspiring Grimnir, Tefk moved next to Ghartok thanks to Treasure Lust and did 2 damage. Riptooth charged in retaliation and did 2 damage back. Tefk healed up with Ur-gold Boon then charged into Ghartok ans Riptooth, killing my Khorne Warrior. With Spectral Wings, Magore charged in and knocked the Duardin down to 2 wounds again. Scoring No Escape, Zharkus charged into Vol to end the phase as I took the lead.
In phase 2 Magore slayed Tefk after surviving his charge, scoring Show of Strength. Next Vol charged into Zharkus and did 2 damage. With Riptooth having Awakened Weapon and Concealed Weapon, I upgraded him with A Destiny to Meet. He charged into Grimnir rolling 2 crits. The Fyre Slayer took 5 damage from the knee chomping, slayed outright. Magore then charged into Maelgrim and killed him in 1 hit. Vol was taken out by a vengeful Zharkus with Twist the knife. Phase was spent cycling cards and it ended with a 15/2 win to me.
Game 2 mirrored game 1’s setup and boards so we started as before. Zharkus charged into Maelgrim doing 2 damage, knocking him away while surviving a retaliatory charge. Riptooth charged in and killed Tefk with Twist the Knife. Vol went on guard. Playing Spectral Wings, Magore charged into Grimnir and Vol. He did 2 damage to the boss but I didn’t pushback. Scoring No Escape, I now had a glory. Instead of playing Awakened Weapon and risking a healing card I used Time Trap. Magore attacked, rolling swords and a double support. Grimnir Knocked the boss back, leaving him alive but with 1 wound. As he survived, however, I was able to score Chosen Champion putting me 2 glory ahead to 0.
With Awakened Weapon, Riptooth started phase 2 by charging into Grimnir. Scoring a single hit, the Fyre Slayer was once again killed by my faithful doggo (scoring Bane of Champions too). Vol charged into Magore but I used Quick Thinker to put him next to Tefk who was quickly cut down and scoring me Precise Use of Force. Maelgrim charged in and failed, thus he too was quickly slain by Magore.
Going into phase 3, I won priority. Riptooth charged into Vol and ripped the fiery duardin into mincemeat. After cycling the game ended on a 18/5 win to me.
Round 2

Spiteclaw’s Swarm lovingly painted by Paul was my second foe. I was very weary and interested in this matchup. Usually I’m always on the Skaven side but I finally get to enjoy being the Fiends for once!
Winning boards, I left my opponent with no back hexes and my board was aggressive as possible. I put the objectives next to no man’s land on my side due to the Skaven movement. Letting him go first, Paul began by moving onto an objective. Figuring out his game plan, I charged in with Zharkus. The rat died helping me score Precise Use of Force. Next I charged Ghartok into a rat after he moved onto an objective but missed. He spent an activation bringing Lurking back to life. Magore moved up and then got hit back by Skritch. I inspired Riptooth, charging into Skritch. Scoring a successful hit, I used Twist the Knife (Teeth?) to slay the enemy leader which scored Bane of Champions.
Going into phase 2 Magore quickly disposed of Krrk. The other rats did their best at running away but where all wiped out by the remaining Khorne warriors. Phase 3 was spent cycling through objectives and I ended up winning 19/2.
Game 2 had the same setup as before. This time I moved up to kill he lesser rats first. Zharkus was able to kill Lurking Skaven on the objective nearest to him. Riptooth then charged in, ripping apart Festering Skaven. I inspired Ghartok and sat him upon an objective deep in Skaven territory to prevent objective capture. With 2 activations left and only on one objective, Paul charged Krrk into Zharkus and did 2 damage. Inspiring Magore, I charged through a lethal hex to skill Krrk. As a result I scored Precise Use of Force and No Escape. With Shining Example, I ended phase 1 greatly ahead.
Phase 2 had Riptooth bounding into Skritch. With Awakened Weapon and Great Strength, the rat warlord died again and I scored Bane of Champions. The rest of the rats where cut down until only 1 remained. For glory purposes (as the event was 12 people with 3 rounds) I left the Skaven alive to score more of my killy objectives.
In phase 3, Hungering moved away but Zharkus chased him down. The Skaven was killed scoring me Change of Tactics. The rest of the phase was spent cycling objectives and it ended with another 17/3 win to me. Both games were dominating wins but it was more due to my in-depth experience with matchup. I just knew what the Skaven wanted to do, where to go and how to take them apart as Fiends.
Round 3

Garek’s Reavers would be against Alec again. Starting off I lost deployment and was surprised with a long board placement by him. Unprepared I had the wrong board so did the best I could. Phase 1 was spent just moving my warriors into range. They were all damage 1 and I lacked my inspired cards. Without twist the knife, there was no way to kill Saek, Karsus and Garek in 1 hit as they were the only fighters in range of Riptooth.
Ghartok died in phase 2 but I was able to inspire Magore, having him cut down Saek and scoring multiple glory thanks to Trophy Hunter. Riptooth and Magore were both wounded yet survived due to lack of glory for strength upgrades as well as ploys.
Going into phase 3, Riptooth was charged and I Quick Thinker’d next to Garek. The faithful doggo proceeded to kill the Khorne warrior, scoring Bane of Champions. He quickly died in return but Zharkus charged up with Spectral Wings and killed another foe. Karsus attacked and missed, to which Magore reacted with an axe to the face scoring No Escape. Totalling it all up, I was unable to prevent a Superior Tactician and lost 12/13.
Game 2 had me winning deployment so I played as aggressively as possible. Going second, I charged into Saek with Riptooth. Thanks to Twist the Knife, the axe man was dead scoring me Precise Use of Force. Thanks to Daemonic Resilience my doggo was safe. Once it was safe again, Magore charged into Karsus thanks to Inspiration Strikes. I cut him down and scored 3 glory thanks to Show of Strength and Trophy Hunter.
With most of the Reavers dead, phase 2 had me slay Garek with Riptooth again. With Targor and Arnulf separated far from my warriors by the end of phase 2, I was just trying to consolidate my position. Phase 3 had me in range to only kill 1 more fighter but I played it safe and ended the game with a 13/5 win.
Game 3 had me lose boards but I used the Cog board to minimise the damage. This set was super close from the onset. I made an early charge with inspired Riptooth and killed Karus but lost Ghartok from counter attacks. Thankfully I kept my Inspired Magore alive to score Shining Example.
Phase 2 had Magore cut down Garek but was killed in return by Saek. I was able to close out the phase by killing Arnulf leaving is both with 2 fighters left.
In phase 3 I put Riptooth on guard. Then Alec played Hidden Paths to put Arnulf in my bottom corner. I used Hidden Paths to move my Zharkus next to him but completely forgot Saek had movement 5 now. Saek charged in and killed him. Without any way to charge,I was only able to score Ploymaster and narrowly lost again 15/16. It was another tough battle and I had been baited out with Hidden Paths lost due to my eagerness in playing my own.
—
In the end I finished 3rd with my friend Tom finally claiming a well-deserved trophy with his Reavers. The Fiends did exceptionally well but I could already feel their shortcomings by relying so heavily on being inspired. Still I had fun and definitely check out Marquee Models if you can. They’re a great store who run regular fun events.
Sunday
Hamlins Toys in Berkhamstead was where it was at on Sunday. I had won here twice before and was looking to make it a 3rd. Once again I was using Fiends with no changes card wise. Instead, gameplay refinement was my goal. We only had 4 total players compared to yesterday’s 12 but it was still going to be a fun day.
Round 1

To begin with I was playing against Jon, the TO with his own Magore’s Fiends. It was a Khorne-off.
Winning deployment, I placed the boards together aggressively. Going first, my Ghartok charged into Ghartok but missed. Thus the loop of punching began. He reacted back but missed, so I punched back and missed. After about 3 minutes of looping, I scored 1 damage on the enemy Ghartok and inspired! However he became the target of my opponent and was eventually killed but his time as a distraction allowed me to kill his Riptooth.
In phase 2, Riptooth got charged and I was able to use Quick Thinker to put him next to Magore. With Incredible Strength, the enemy leader was dead and I scored Bane of Champions. My dog was sadly killed in retaliation yet he did his job like all good boys.
Phase 3 had me go for the push. With no real threats left, Magore was able to hack down one of the Fiends. The last was killed by Zharkus, ending the first game on a 14/8 win to me.
In game 2 I had won boards again. This time Jon placed more defensively while I maintained my aggressive push. Charging forwards, Ghartok inflicted the pain. Surviving the counterattack, Riptooth was then able to charge in and kill the opposing Magore for Bane of Champions.
Phase 2 with Incredible Strength and Trophy Hunter, Magore was able to make a killing. My Riptooth was able to kill his opposing brother, resulting in a wipeout. The rest of the game was spent cycling cards, ending in 19/2 win for me.
Round 2

I would be facing Alec again but this time he was using a super defensive Farstriders warband. This was a solid counter to my Fiends so I knew I had to rely on my movement cards and winning boards to have a chance.
Game 1 started with me winning board placement. Going first I just put Riptooth on guard. Alec turtle’d up at the back of his board which was fine for me. Inspiring the dog, I had Twist the Knife and Bane of Champions in-hand. Farstrider had trapped himself so I just needed to get 1 hit. Charging in I rolled a single hit but got crit’d back for defence. With my gambit failed, I could only move up as the dog was slowly killed.
Phase 2 had me inspire Magore. With Twist the Knife, Show of Strength and Precise Use of Force I had a chance. Charging into Farstrider, I failed to hit. After this it was game over. There was nothing I could really do as my attack dice had failed and my heavy hitters gone, ending on a 17/0 loss.
Game 2 had me lose boards this time so I knew it was going to be a length-ways placement. Putting the Cog board down, I started the long slog. Moving up, I used Hidden Paths to move Ghartok next to Farstrider who used Hidden Paths to put him next to his other 2 warriors. Then he played Great Concussion to push the fighters even further apart. The rest of the phase was spent moving up but I was still out of range.
In phase 2, Ghartok charged into the Farstriders and brought 1 of them down to 2 wounds. I played Time Trap to sieze on the moment but the dice weren’t on my side. He was then slowly cut up by the stormcast. Riptooth charged in but got Quick Thinker’d.
Phase 3 started with Riptooth dying and with him, my chances of winning. With Magore and Zharkus too far away, all I could do was stop Alone in the Darkness to end in a 14/6 loss.
It was a frustratingly boring set that I knew would play out as it happened. Fiends rely heavily on being inspired and there’s not much you can do when you’re unable to close the gap. It was made worse by the fact that my Skaven have no such problems with this style of play but it did let me see how Fiends players can try to mitigate the situation.
Still I think I had a fair chance. Even though the first game was a white wash, had Riptooth killed Farstrider I would have won the game. Defensive (or more accurately, turtle) Stormcast of both flavours lose once you kill a single warrior, especially the leader as so many cards revolve around him. Plus it helps keep pure aggro warbands honest .
Round 3
Once again I was facing off against Amit, this time with the Farstriders. Winning deployment, I placed very aggressively. Phase 1 was a maelstrom of combat, with no one able to kill the other. At the bottom of 1, both warbands were stuck in a massive huddle in the left of my territory near no man’s land with most heavily wounded.
Going first in phase 2, Riptooth was charged by a Stormcast but I used Quick Thinker to move him next to Farstider. The dog then struck and thanks to Twist the Knife, beheaded the enemy leader which scored Bane of Champions. Riptooth was cut down in return but Magore then hacked apart the opponent next to him and then charged into the last foe and brutally ended him. Phase 3 was spent cycling cards and I had managed to win 16/0.
Game 2 had me win deployment again so boards were kept the same. Moving forwards, I quickly inspired Riptooth. He charged in for the kill and ripped a Stormcast apart with Twist the Knife. He was knocked back in return but Magore charged up and smashed the Farstrider away. Meanwhile their lead fell back with supporting fire to mitigate damage.
In phase 2, Riptooth now had Concealed Weapon and Awakened Weapon. He charged into Farstrider and rolled 2 crits, doing 5 damage to overkill the opposing leader and score Bane of Champions again. The last Stormcast struck back and missed. With Great Strength, Magore charged in and cleaved his opponent in 2, scoring a heap of glory. Once again phase was spent cycling objectives and ended with a 15/1 win to me.
—
In the end I managed to come 2nd with a very good glory score again. Playing as Fiends really showed me how overpowered the can be in the current meta while also easily countered. It still doesn’t change my mind that I find them very one-dimensional but I had fun using them.
Once again check out Hamlins Toys Berkhamstead. It’s a great store with amazing events ran by the TO. It’ll always be friendly and welcoming. Until next time, keep those crits spooky.

“With Riptooth having Awakened Weapon and Concealed Weapon, I upgraded him with Shadeglass Dagger.”
Shadeglass Dagger is an Attack action. Riptooth can’t use it.
LikeLike
Oops the Shadeglass Dagger was an error when typing. It was either A Destiny to Meet or Deathly Fortitude. My bad 😅
LikeLike